mikael
Aug 22, 2019 - 18:38

Got excited about using SpriteKit, and quickly noted that it is not fun to use without a Python wrapper, so.
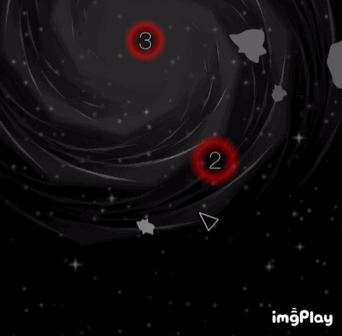
SpriteKit is interesting mainly if you need some 2D physics like collisions or field effects.
Here‘s a simple example demonstrating some features available so far:
scene = Scene(
background_color='black', #1
physics=SpacePhysics) #2
class SpaceRock(SpriteNode): #3
def __init__(self, **kwargs):
super().__init__(**kwargs)
self.angular_velocity = random.random()*4-2
self.touch_enabled = True #4
def touch_ended(self, touch): #4
self.velocity = (
random.randint(-100, 100),
random.randint(-100, 100)
)
ship = SpriteNode(
image=ui.Image('spc:EnemyBlue2'),
position=(150,600),
velocity=(0, -100), #5
parent=scene)
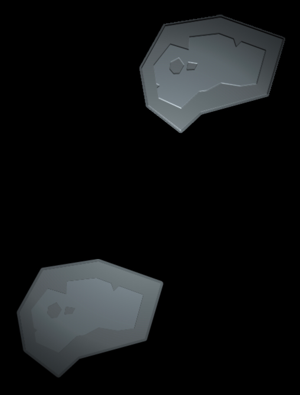
rock = SpaceRock(
image=ui.Image('spc:MeteorGrayBig3'),
position=(170,100),
velocity=(0,100),
parent=scene)
scene.view.present()
Points to note:
- Many familiar features work as they do in the scene module, like setting colors etc.
- Physics settings like gravity, linear damping (air friction) and restoration (bounciness) can be set with convenient packages.
- All nodes are inheritable.
- Individual nodes are touchable (and thus support gestures as well).
- Physics are accessible without explicitly playing with SpriteKit physicsBody.
This is work in progress, available on github. If you are interested in using SpriteKit in this way, let me know and we can guide the wrapping progress in a useful way.